Data Obfuscation
Selective Data Obfuscation
The platform now allows for selective data obfuscation. Administrators can now select certain survey fields for obfuscation, which removes identifying or sensitive information from view. This is an optional feature that can provide an added layer anonymity for those who sending reports to your deployment. These fields include:-
- Author information: This may be the registered user name, or return address from the data source the post came through (e.g a twitter handle, an email address or a phone number). With the obfuscation feature, if set to hidden, this will be presented as “Anonymous” on the user interface, for any users without adequate privileges.
- Location information: These are locations attached to a post on a survey. If set to hidden, any user without adequate privileges viewing a post will be shifted to the closest position in a grid approximately 200m by 200m wide. They will not be able to see exact location attached to a post.
- Date and time information: Every post has an timestamp assigned to it on submission. If set to hidden, date and time information will be reset 12:00a.m for users without adequate privileges.
As an administrator, you are now able to set any or all three options to be hidden to ensure privacy and anonymity of your reporters.
Enabling/disabling this feature.
In order for a user to view and edit anonymized data, the user must be assigned to a role with “Manage posts” permissions assigned to it, or overall administrative privileges on your deployment.
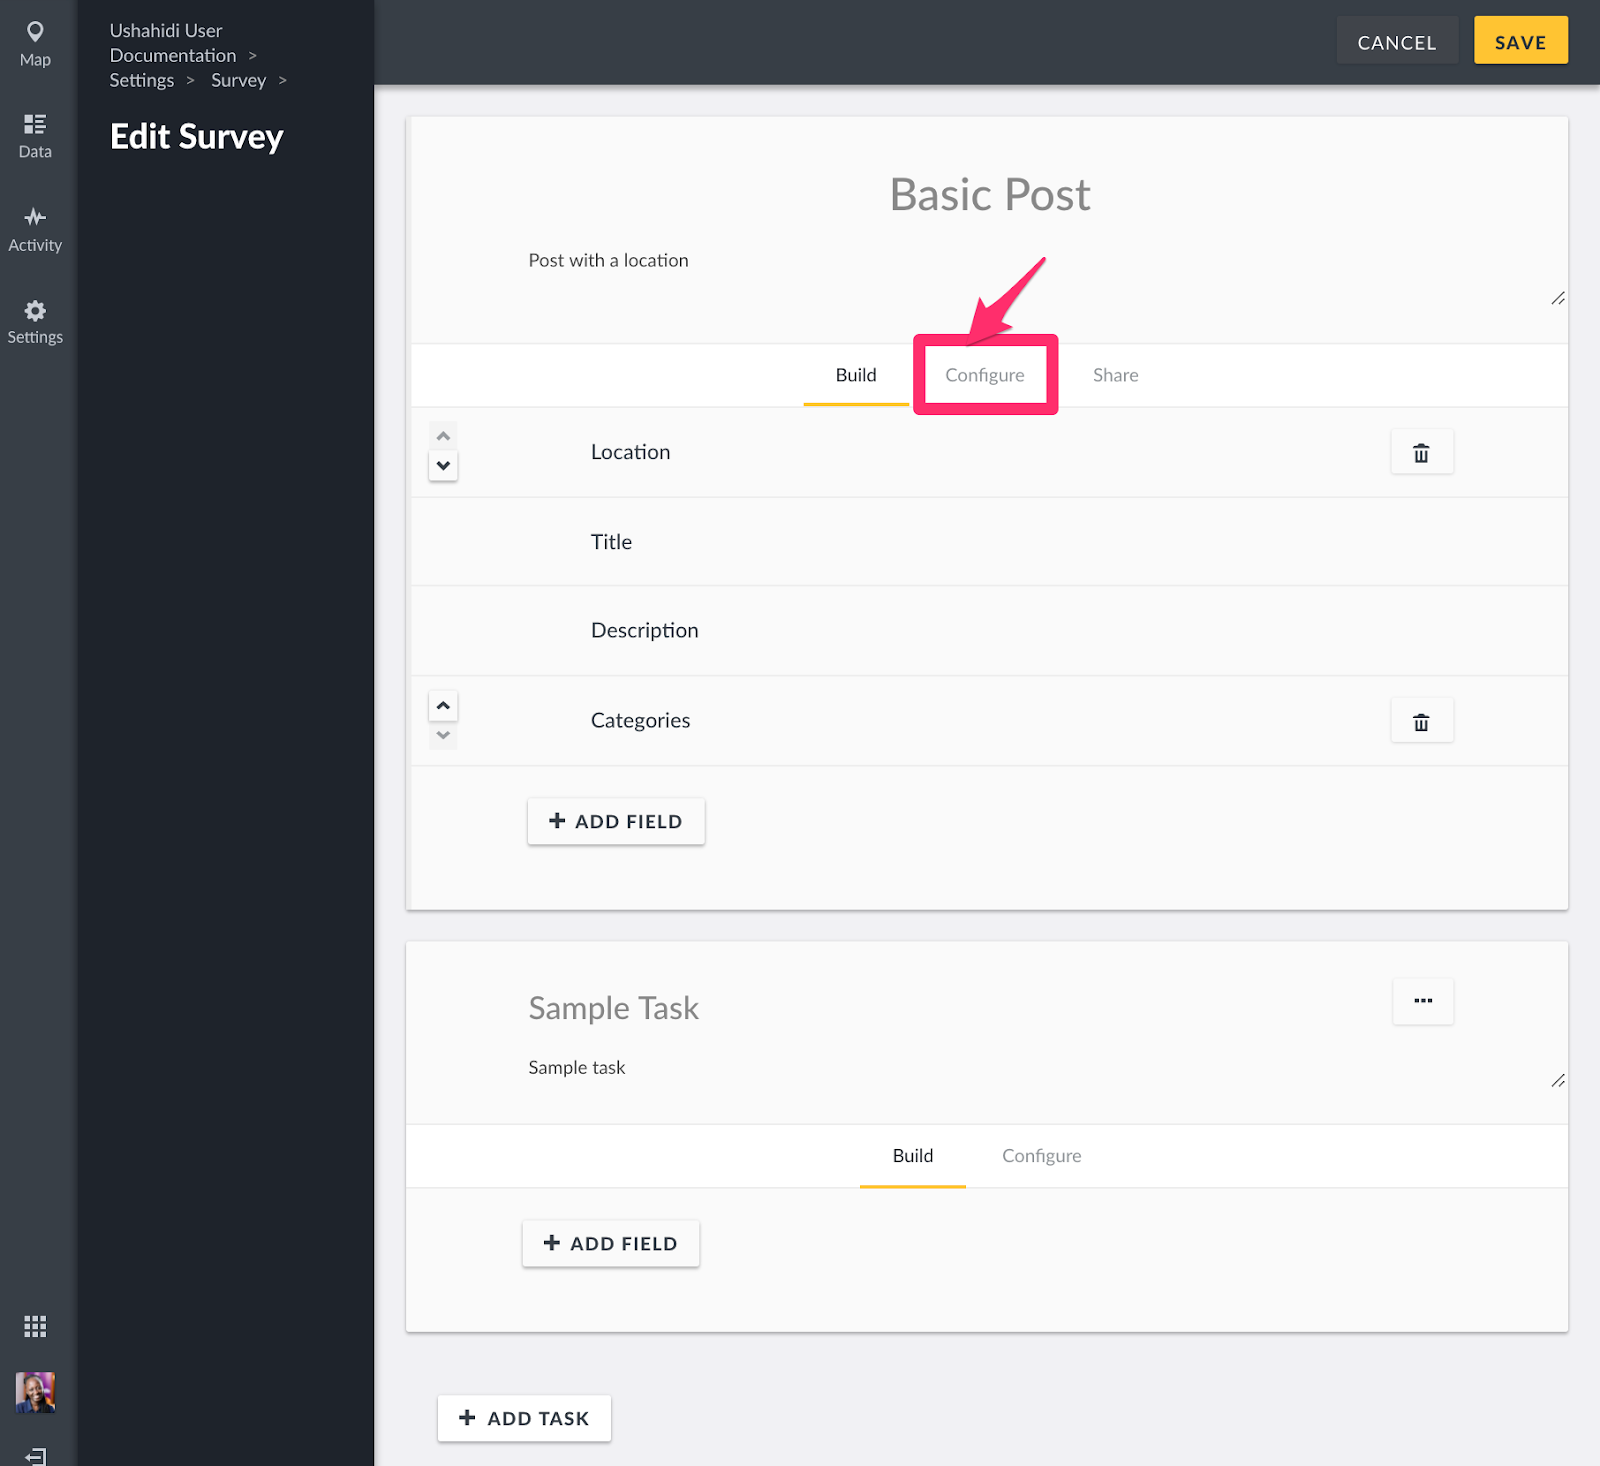
To configure Surveys to obfuscate your data,
- Click on “Settings”

- Then on “Surveys”.

- Select a survey that you would like to configure or edit

- Click on “Configure”
- Move the toggle on and of depending on the different options for data obfuscation


- When done setting which data points to obfuscate, save your survey configuration. Your changes should apply immediately.
- Important note on precision of hidden locations.
- When the setting to hide location information is enabled, users with adequate privileges can set precision level of locations on the map. Locations will be precise to a certain number of decimal places. To set precision level, select “Settings”, then “General”.
- Scroll down to location info, and specifically to the “Map precision level” field.
- By default, this value will be set to 1, meaning that locations will be precise to 100km. You can toggle this figure up, or enter a number that is not higher than 9.
- As your value for precision levels changes, text showing the precision in terms of kilometres will be updated above the input field.

NB: Please note that these settings do not affect how data is stored in the database. Data is always stored exactly, without any anonymization filters. Those filters only apply while data is being transmitted to the end users.
The platform now allows for selective data obfuscation. Administrators can now select certain survey fields for obfuscation, which removes identifying or sensitive information from view. This is an optional feature that can provide an added layer anonymity for those who sending reports to your deployment. These fields include:-
- Author information: This may be the registered user name, or return address from the data source the post came through (e.g a twitter handle, an email address or a phone number). With the obfuscation feature, if set to hidden, this will be presented as “Anonymous” on the user interface, for any users without adequate privileges.
- Location information: These are locations attached to a post on a survey. If set to hidden, any user without adequate privileges viewing a post will be shifted to the closest position in a grid approximately 200m by 200m wide. They will not be able to see exact location attached to a post.
- Date and time information: Every post has an timestamp assigned to it on submission. If set to hidden, date and time information will be reset 12:00a.m for users without adequate privileges.
As an administrator, you are now able to set any or all three options to be hidden to ensure privacy and anonymity of your reporters.
In order for a user to view and edit anonymized data, the user must be assigned to a role with “Manage posts” permissions assigned to it, or overall administrative privileges on your deployment.
To configure Surveys to obfuscate your data,
- Click on “Settings”
- Then on “Surveys”.
- Select a survey that you would like to configure or edit
- Click on “Configure”
- Move the toggle on and of depending on the different options for data obfuscation
- When done setting which data points to obfuscate, save your survey configuration. Your changes should apply immediately.
- Important note on precision of hidden locations.
- When the setting to hide location information is enabled, users with adequate privileges can set precision level of locations on the map. Locations will be precise to a certain number of decimal places. To set precision level, select “Settings”, then “General”.
- Scroll down to location info, and specifically to the “Map precision level” field.
- By default, this value will be set to 1, meaning that locations will be precise to 100km. You can toggle this figure up, or enter a number that is not higher than 9.
- As your value for precision levels changes, text showing the precision in terms of kilometres will be updated above the input field.
NB: Please note that these settings do not affect how data is stored in the database. Data is always stored exactly, without any anonymization filters. Those filters only apply while data is being transmitted to the end users.